Table of Contents
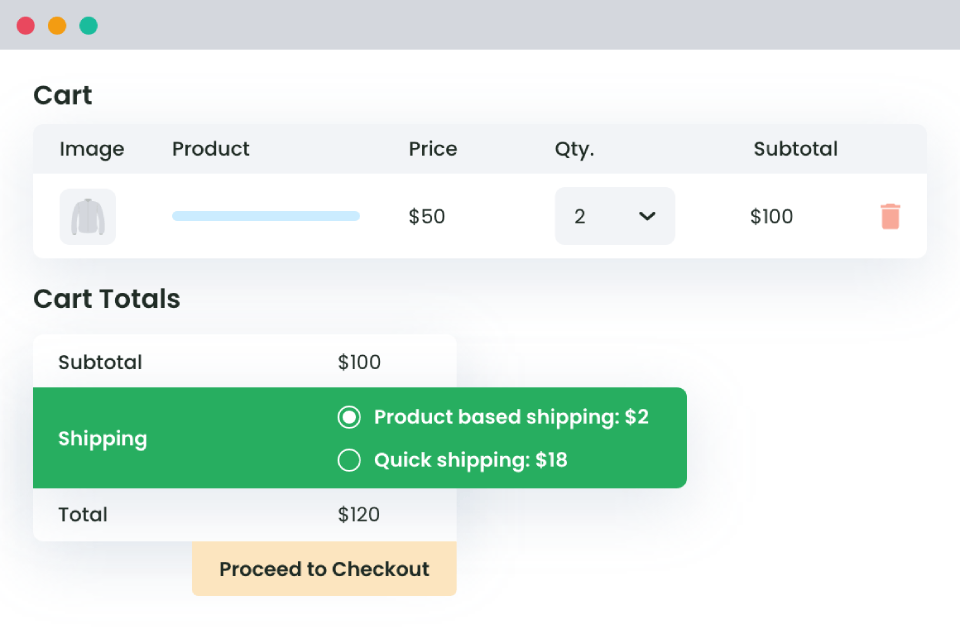
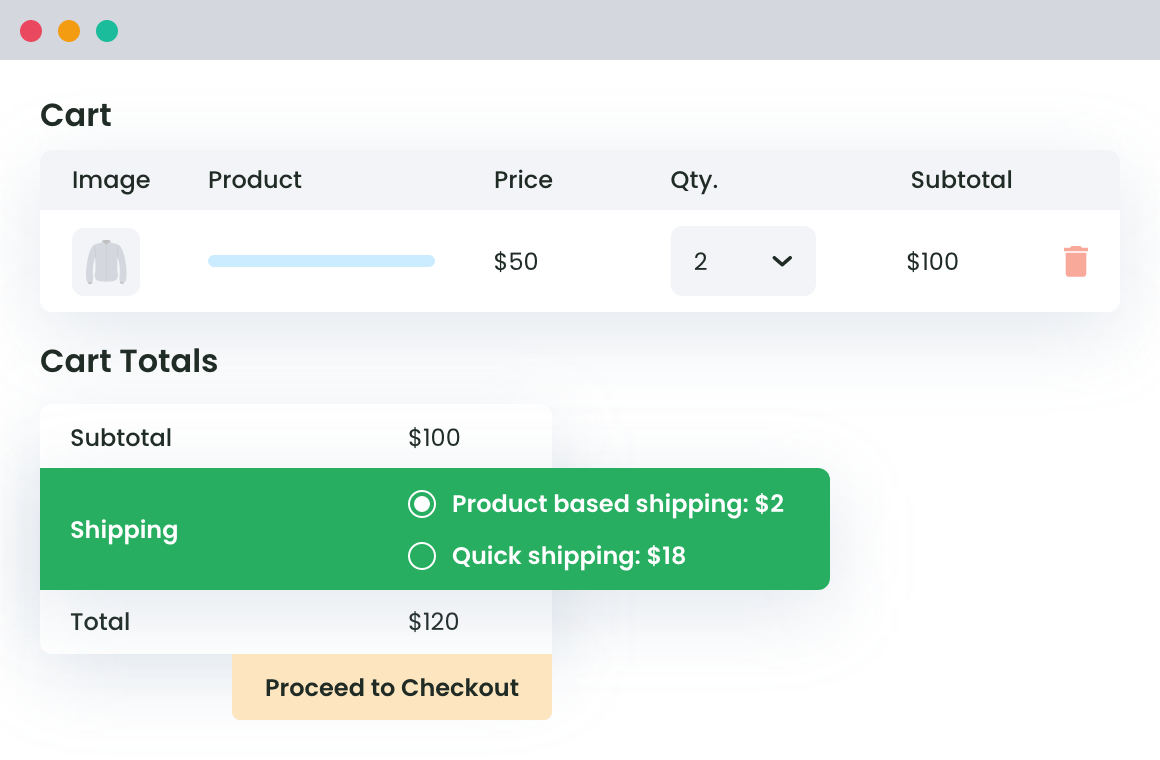
Shipping products to your customers and keeping them free might work sometimes, but not always. Because your WooCommerce store has customers from multiple locations, shipping can cost you $0 to $50. Instead of one such condition, you might need to apply WooCommerce multiple shipping rates, i.e., simultaneous conditions.
Hence, there is a need for an advanced shipping method. The Advanced Flat Rate Shipping Plugin by DotStore will help you do the job. If you are wondering how to use the plugin, this guide will help you.
Plugin & Possible Use Cases for WooCommerce Multiple Shipping
As visible from the image below, the plugin is equipped with all the factors that influence the shipping rate in the WooCommerce store. So, with its help, applying multiple shipping rates is very easy.

1. Location-based WooCommerce shipping
Location specifies the area whether the product is to be shipped. It is not the billing location of the customer but the shipping or the delivery location of the user. Using the plugin, you can customize the plugin settings to vary depending upon the following parameters:
- Country: Consider that you wish to have different shipping rates for varied locations. For example, if you wish to set free shipping for customers in Bermuda and $5 for all others. This tab could be used to do that.
- State: Similar to country, shipping rules can be created to set different shipping rates for customers in a different state.
- Postcode: This tab can be used if you wish to set different shipping fees based on the postal code.
- Shipping zone: The plugin also allows you to set variable shipping rates depending on the shipping zone.
Advanced Flat Rate Shipping Methods
Boost your WooCommerce store’s revenue with flexible shipping options. Your business deserves the best!
14-day, no-questions-asked money-back guarantee.

2. Product-based WooCommerce Shipping
Similar to the location, the plugin can be used to differentiate between shipping fees depending on the product that has been added to the cart.
- Cart contains product: The first option is to set shipping fees by determining the items added to the cart. Custom-fit rules are created to set the shipping fee.
- Product Tags: Next, we have the product tags option. Select specific product tags and specify the shipping fee to be levied for the products with the said tags.
- SKU: Follow a similar process to configure the shipping plugin and customize shipping rates for SKU.
- Categories: Have variable shipping rates based on the product categories.
- Quantity: This is different from others. At times store managers offer the ease to avail free shipping when the number of products added to the cart exceeds a specific figure.
How to Calculate Shipping Rates for Various Products Types in the WooCommerce Cart?
3. User-based WooCommerce Shipping
Special rates for privileged members.
- User: By providing special privileges to the members of the company or the online store, the user-based shipping rule enables you to set special shipping fees.
- Username: If you have a premium membership in your store, you might want to exempt your pro customers from paying shipping rates, right? Use this block to do the job.
4. Cart-based WooCommerce Shipping
Personalize the shipping method for your online store, varying based on the cart characteristics.
- Cart weight: Increase shipping fees when the cart weight is more than the threshold limit.
- Subtotal of Cart: Opt for free shipping if the cart total is more than the minimum order value.
- Quantity in cart: For the cart with x more products, shipping fees vary dramatically.
- Shipping class: Set flexible fees for different shipping classes.
- Coupon: Change the shipping method when a coupon is applied to the cart.
Too much information, right?
Don’t worry. Using the plugin is pretty simple and requires only a few steps. Before we start with the shipping method, you must have the system ready and the store integrated with the plugin.
What to do?
To add the plugin to the WooCommerce store, do the following:
- Log in to your WooCommerce dashboard using the login credentials.
- Move to the plugin tab in the bottom left corner.
- Click on add new.
- The new page will display the common plugins. If you don’t find the plugin, type Advanced Flat Rate Shipping Plugin in the search bar.
- Click on the plugin that DotStore builds.
- Click on download now.
- Install and activate the plugin once the same has been downloaded.
Now that we have the plugin installed and integrated into our WooCommerce store, we can now start with the process of creating shipping rules, both single and multiple.
Apply WooCommerce free shipping for different Conditions
How to Configure the WooCommerce Shipping Plugin?
Configuring the plugin is a two-step process.
- Add a new shipping method
- Create shipping rules
The first step is to create a new shipping method. The process is more or less similar, irrespective of the rule you create. Once we have the method created, we can start by adding rules to the method.

Adding a New Shipping Method
As mentioned, we start by adding a shipping method.
Note that we will outline the basic settings. The details would change depending upon the fee to be charged and other parameters.

Status
The status bar is more like a switch to specify whether a method is active. At times, it so happens that store managers create a method and then deactivate it for a specific time to test the store functionality.
Shipping Method Name
This tab requires you to enter a unique name for the shipping method. This name would be used to differentiate one method from another.
Shipping Charges
Enter the rule-specific fee here. Note that you can set a fee for the entire cart or for every product in the cart. In case you want to set free shipping for a particular rule, enter $0 here.
Tooltip Description
Details about the plugin can be added here for future reference.
Is the amount taxable
Often you need to levy a tax on top of the shipping fee. Click on the checkbox here will allow you to make the fee taxable.
Estimated Delivery Time
An advanced feature of the plugin, you can set an approximate delivery time for the products that ply with the created shipping method.
Start Date/End Date
For instances where you set a shipping method as part of a sale/offer or wish to run the method for a specific period, you can enter the start date and the end date for the same.
Days
Want your shipping method to ply on specific days, say Monday, Tuesday, or Wednesday, you can specify the days here.
Time
You can also limit the shipping method within a dedicated period. Remember the special sale that starts at midnight and ends in 5 hours. Yes, that’s what can be done using this option.

Shipping Method Rules
Once we have configured the plugin, the next step is to create shipping rules. Instead of adding one rule after the other, we take an example to explain how you can enhance your store operations by adding multiple shipping rules.
Use Case for Applying WooCommerce Multiple Shipping
Here are a few use cases for applying multiple shipping options in Woo.
Part 1
Set $10 as shipping fees for the customers in Bermuda when the cart value exceeds $250.

The use case here has more than one rule to be added to the method. Click on the add rule to add the first row.
- Select the drop-down and click on the country.
- In the next drop-down, select equal to.
- In the third tab, enter Bermuda.
- Now to add a second rule, click on Add Rule again.
- A new row will appear in the section.
- Now click on the drop-down, and click on the cart subtotal from the cart section.
- Select greater than equal to in the next tab.
- Next, write $250 in the final column.
Click on Save Changes to make the rule live. You must enter the shipping rate at $10 while adding a new method.

Click on Save Changes to set the shipping rule.
Part 2
Now, for this country, you might want to set $10 as a shipping fee for the customers who buy 10 or more t-shirts.
Although it looks like a single rule, the cart needs to satisfy two conditions. First, the product must be a t-shirt, and then, the total quantity must be more than equal to 10.
Follow the steps given below:
- Click on the Add Rule tab and then select the drop-down. We first add the rule that chalks out the product. We apply the second rule only when the products added to the cart are t-shirts. Click on the cart containing the product.
- In the next drop-down, select equal to.
- In the third tab, enter t-shirts.
- Now to add a second rule, click on Add Rule again.
- A new row will appear in the section.
- Now click on the drop-down, and from the cart section, click on cart quantity.
- Select greater than equal to in the next tab.
- Next, write 10 in the final column.

Click on Save Changes to set the shipping rule.
Part 3
Set free for customers when the cart total increases by $250 for customers who are editors.
Note that this method requires you to set free shipping. So before creating the rule, please scroll up to the section where we configured the plugin. Under the shipping charge tab, enter $0.
- Click on the Add Rule tab and then select the drop-down. Click on the user role.
- In the next drop-down, select equal to.
- In the third tab, enter editors.
- Now to add a second rule, click on Add Rule again.
- A new row will appear in the section.
- Now click on the drop-down, and click on the cart subtotal from the cart section.
- Select greater than equal to in the next tab.
- Next, write $250 in the final column.
Click on Save Changes to set the shipping rule.
Note: You may choose whether the defined shipping rates for these 3 shipping rules will be applicable when all 3 rules will be applied or when any of these 3 rules are applied.
Because you want to apply WooCommerce multiple shipping in the current case, select ‘All’ rule match option from the drop down adjacent to the ‘shipping method rules’ title.

Final Words!
Multiple shipping conditions might be the need of the hour for your WooCommerce store. Use the above-described method to enable it easily.
Even if you want to add just one or multiple separately applicable flat rate shipping method rules for factors such as location, product, cart, user role, etc, the plugin described in this article will work for you.
How to calculate per-product flat rate shipping for WooCommerce?
How to I set table rates Shipping in WooCommerce?
Advanced Flat Rate Shipping Methods
Boost your WooCommerce store’s revenue with flexible shipping options. Your business deserves the best!
14-day, no-questions-asked money-back guarantee.

