Table of Contents
In the world of eCommerce, a well-designed and customized product page is akin to an eye-catching storefront display that draws customers in and propels them to make a purchase. Designing an engaging WooCommerce product page is a crucial yet often overlooked aspect of running a successful online storefront.
Optimizing your product page is more than just a matter of appearances. Indeed, having an optimized, user-friendly product page has a direct and significant impact on conversions. A product page that is easy to navigate, visually appealing, and high in quality can make the difference between a customer promptly adding an item to their cart or abandoning their purchase impulse entirely.
Furthermore, the product page is not only crucial for user experience but also has a far-reaching effect on overall sales. It is important to remember that this is the gateway to the purchasing decision.
Here, your customers base their final decision on the product details and overall product page layout. Therefore, customizing your WooCommerce product page with the right blend of design, usability, and information can undeniably result in lifted sales and a stronger bottom byline.
So in this guide, we will discuss the importance of well-designed product pages, how to customize product pages, and tips for effective customization.
Understanding the Default WooCommerce Product Page
Before fully understanding how to customize and improve our WooCommerce product page for maximum performance, we must understand the default layout and features provided by WooCommerce. After all, understanding is the first step toward improvement.
The typical WooCommerce Product Page template contains the following key sections:
- Product Title: This is the heading of the product page, where the name of your product is stated.
- Product Images: These are visual illustrations of your product (featured image). Good product gallery images capture the product’s essence, features, and nuances, giving the buyers a physical sense of what they’re purchasing.
- Short Description: This is a concise snapshot of the product. Your short description should engage customers’ curiosity and give them an overview of the product’s features and benefits.
- Product Pricing: This section communicates the cost of your product. It’s important to make the pricing clear and readable.
- Add to Cart Button: This is the direct call to action. From here, customers can easily add products to their cart, continuing their journey to checkout.
- Product Long Description: This is where fuller details about the product come in. It’s a space to elaborate on the product’s features, usage, ingredients (if applicable), and other aspects that can compel customers to purchase.
- Stock Status: This notifies your customers whether the product is in stock, out of stock, or available for backorder, which can significantly influence the customer’s decision to purchase.
- Reviews and Ratings: This section displays customer feedback and evaluations of your product. Positive reviews can significantly boost your product’s credibility and encourage more purchases.
- Related Products: Display-related products help suggest additional products the customer might be interested in based on their current product view.
Each of the above sections plays significant roles in the customer journey, from awareness to purchase. Despite the user-friendly design and layout of the default WooCommerce product page, when we aim for increased conversions and sales, there’s always room for customization and improvement.
Advantages of Customized Product Pages
In e-commerce, product pages often serve as the focal point of customer decision-making. A customized product page tailored to fit your brand’s image and customer’s needs can offer a wide range of advantages:
1. Increased Conversion Rates
A customized product page that showcases your products in an enticing and detailed manner can dramatically boost conversion rates.
For example, high-quality images, engaging videos, and clear and detailed product descriptions can give customers the necessary information to make a well-informed purchase decision.
WooCommerce Banner Management Plugin
Gain full control over banner displays across your store. Boost conversions and sales today!
14-day, no-questions-asked money-back guarantee.
2. Brand Consistency
Customizing product pages allows you to maintain brand consistency across your online store. This includes fonts, colors, style of writing, and overall page layout in line with your brand motif.
Such consistency can contribute significantly toward brand recognition and trust.
3. Improved Customer Experience
By personalizing product pages to cater to your audience’s specific preferences, you can deliver a superior customer experience.
This could include presenting similar products, customer reviews, FAQs, or other interactive features that add value.
4. Enhanced Trust
Trust is essential in online shopping, and a well-crafted product page can build customer trust in your brand.
High-resolution product images, comprehensive product descriptions, and customer reviews can all promote validity and trust in your products.
5. Boost SEO
An optimized product page is an excellent place for SEO.

You can incorporate keywords into your product descriptions, give your images SEO-friendly names, and use meta tags and headers to boost your page rankings.
6. Versatility and Flexibility
Customization allows you to experiment with different design elements on your page until you find what best suits your needs. You can implement A/B testing to find out what your customers prefer and improve accordingly.
How to Customize Product Pages in WooCommerce?
Now let’s see a few ways you can use to customize WooCommerce product pages.
Method 1: Customize Using Plugins
WooCommerce offers a ton of plugins you can install to start customizing your product pages. Here’s how:
- Choose the right plugin: First, identify the suitable plugin for your specific needs. Some popular WooCommerce product page customization plugins include ShopLentor, Best WooCommerce Builder for Elementor, and Elementor. Research the features of each plugin, read reviews, and ensure compatibility with your theme and WooCommerce version before making a choice.
- Install and activate the plugin: Once you’ve chosen your desired plugin, install and activate it within your WordPress dashboard. Go to Plugins > Add New and search for the plugin by name. Click on Install Now and then Activate.
- Configure the plugin settings: Navigate to the plugin’s settings page in your WordPress dashboard. Here, you can customize a wide range of attributes, such as adjusting the product layout, modifying text, or adding custom fields. Configure the plugin settings to best suit your brand identity and the customer experience you aim to provide.
- Test for compatibility and responsiveness: With the plugin settings configured, thoroughly test your newly customized product page across different devices and screen sizes to ensure responsiveness. Also, examine the page loading times, as plugins can sometimes introduce performance issues. It’s essential to strike the right balance between customization and website performance.
- Iterate and refine your product page: Regularly assess the performance of your customized WooCommerce product page, using analytics to track key metrics like conversion rates, add-to-cart rates, and bounce rates. Based on these insights, continue to fine-tune your product page to maximize customer satisfaction and sales.
Method 2: Customize Using CSS
Regarding product page customization, cascading style sheets (CSS) can act as powerful tools to transform the look and feel of your product pages. CSS knowledge will allow you to change the element styles, such as colors, fonts, and layout.
- Identify the CSS class or ID: To customize specific elements, you must first identify their CSS class or ID. You can do this by right-clicking on the element in your browser and selecting “Inspect” to view the element’s HTML and associated CSS.
- Write the custom CSS: Once you’ve identified the CSS classes or IDs you want to change, write the custom CSS you’d like to implement. For instance, to change the color of a product title, the CSS might look like:
.product .product_title { color: #000000;}- Add the CSS to your site: Navigate to the WordPress Dashboard > Appearance > Customize > Additional CSS. Paste your custom CSS code into the ‘Additional CSS’ box.
- Save and check the changes: Click the “Publish” button to save the changes. Refresh your product page to see the changes.
- Repeat the process: Repeat the aforementioned process for each item you want to customize on your product page.
Using CSS for WooCommerce product page customization offers a greater degree of control and enables you to create pages entirely unique to your store. Just ensure to test every change, keeping your site’s responsiveness and various device compatibility in check.
Remember, always take a backup of your original CSS before making significant changes, just in case you need to revert back to the original design.
Method 3: Customize Using Page Builders
One of the most efficient ways to customize your WooCommerce product pages is by using a page builder such as Elementor.
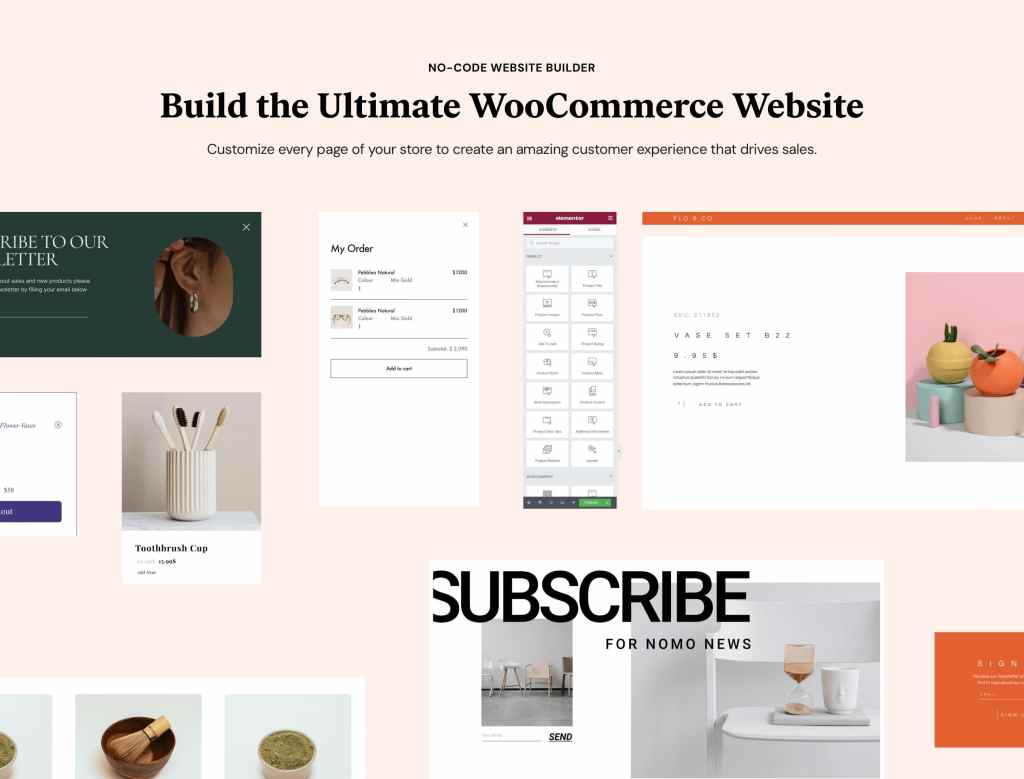
Elementor not only enables you to tailor the entire look of your product page visually but also ensures brand consistency throughout your shop.
Below is a step-by-step guide on how to use Elementor for your WooCommerce product page customization:
- Install and activate Elementor: You will need both the Elementor and Elementor Pro plugins installed on your WordPress platform for a complete set of design functionalities.
- Create the Single Product Template: To start designing, navigate to Pages > All Pages > Add New, then edit it with Elementor. You will see an editing panel with specialized widgets for the product.
- Choose a Pre-designed Product Page Template, or build one from scratch: Elementor provides numerous pre-designed templates. You can either use these templates or start from a blank canvas to grant your product page a more personal touch. You can modify each product page element, from the product title to breadcrumbs and more.
- Add the Product Widgets: For more interactive product pages, incorporate product widgets like product title, Woo Breadcrumbs, product image, product rating, short description, product price, add to cart, and more. You can even add features like share buttons and call-to-action widgets.
- Preview the Product Page With Another Product: To ensure that your template design fits well with each product, preview it with various products. In Elementor, you can easily switch products for preview purposes.
- Set the Conditions: Finally, you can determine where your new product template will appear. By default, Elementor applies the template to all your product pages. However, you can also assign it to a specific category or even a single product.
For more details on how to use Elementor for WooCommerce, you can refer to the documentation.
Choose the Right Product Page Layout
Selecting the appropriate product page layout is pivotal. The layout of your product page must not only be visually appealing but also help the users with easy browsing and a frictionless path to purchase for your customers.
Here are the common WooCommerce product page layouts and their most appropriate use:
1. Grid Layouts
The grid layout is excellent for displaying multiple items concurrently. It’s a clean, organized approach that works especially well for stores with wide product ranges or categories.
Products are displayed in evenly spaced, symmetrical grids, allowing customers to scan through several products at once quickly.
2. Full-Width Layouts
Full-width layouts are recommended for showcasing single products or a small range of products with detailed product photography or large amounts of content to share.
This layout takes full advantage of the screen width, offering a spacious design to showcase your products in a visually striking context.
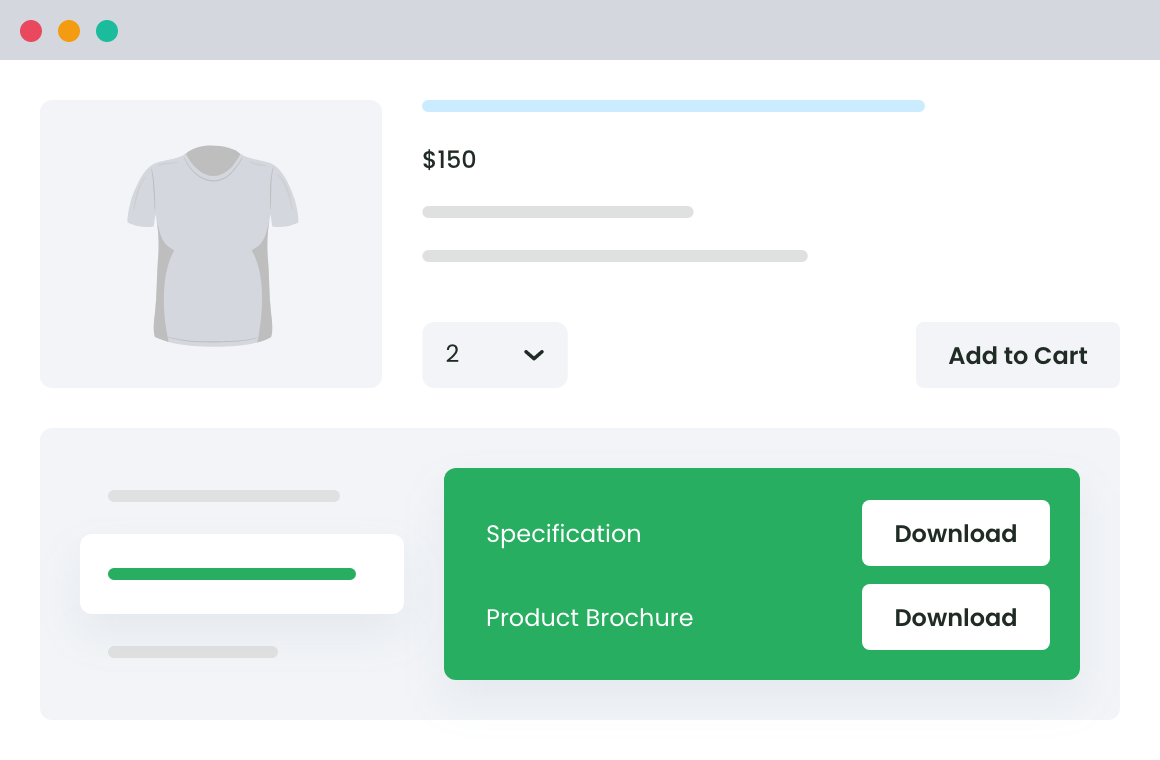
WooCommerce Product Attachment
Increase conversion rates with detailed information using multiple attachments.
14-day, no-questions-asked money-back guarantee.
3. Sidebar Layouts
Sidebar layouts feature a main content section, complemented by one or two sidebars.
These layouts are best suited for stores with differing product types or businesses that wish to display additional information such as product filters, top-rated products, or promo banners.
4. Minimalistic Layouts
A minimalistic approach to your product page layout can provide a simplified and clean design to highlight your products.
Focusing on essential elements such as product images and core product information, the minimalistic layout reduces clutter and streamlines the purchasing process.
5. Interactive Layouts
Interactive layouts incorporate multimedia elements, such as videos, 360-degree spins, and interactive product galleries, to engage customers and provide more in-depth information. This creates a richer shopping experience, increasing customer satisfaction and conversion rates.
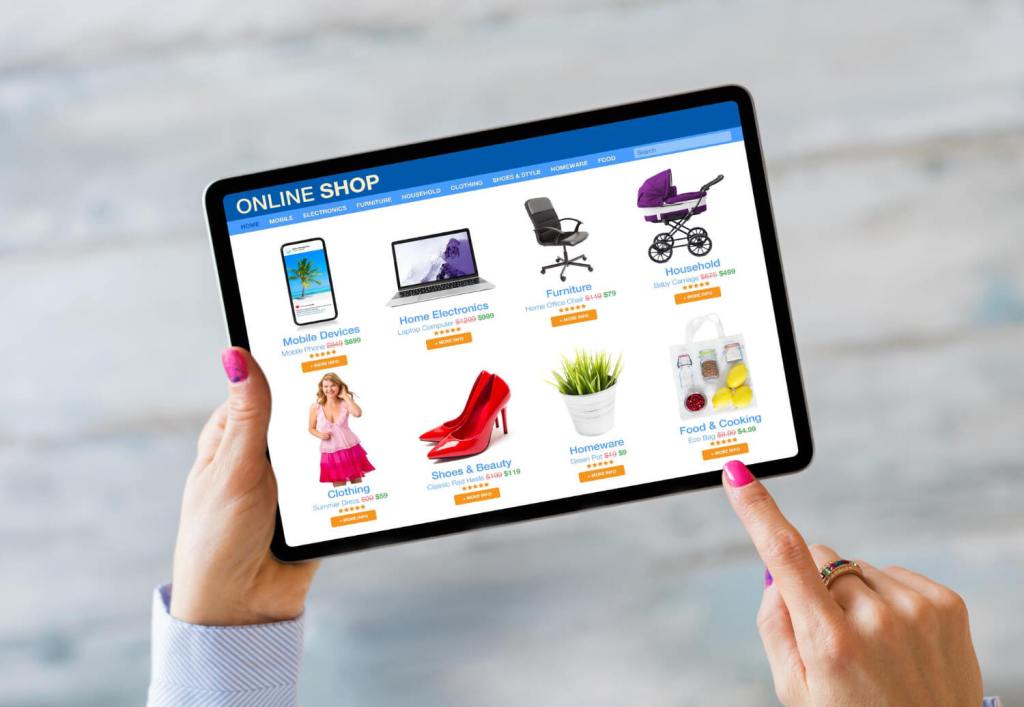
Choosing the right layout for your WooCommerce product page boils down to understanding your product type, your target audience’s behavior, and the shopping experience you wish to provide.
Remember, the product page layout isn’t a one-size-fits-all choice; it needs strategic decision-making to serve your brand’s unique needs and increase conversion rates.
Tips and Techniques for Effective Customization
Some advanced tips, techniques, and best practices could greatly bolster your WooCommerce product pages’ effectiveness and increase conversions.
Putting enough effort into the customization process can make your online store more successful and profitable.
Here are some key tips and techniques:
- High-Quality Images: Clean, high-resolution images are vital for online sales. They fill the gap left by customers’ inability to interface with the product physically. Utilize various angles, close-ups, and real-life context images, where possible, to offer a comprehensive visual understanding of the product.
- Engaging Product Descriptions: An engaging product description can entice a customer into purchase. Go beyond basic features; highlight the benefits and how the product can solve a problem or enhance the buyer’s life.
- Effective Use of Colors: Colors play a significant role in buyer’s behaviors. Use colors consistently with your brand identity throughout the product page. Use contrasting colors for your call to actions (CTAs) to make them stand out.
- Standardize your Format: Having a standard format for product information helps customers find what they’re looking for quickly. It also gives your store a more professional look and feel.
- Use of Social Proof: Including reviews and ratings on your product page provides social proof, which can reassure potential buyers about the quality of your product.
- Optimization for Mobile: In today’s mobile-dominant world, ensure your WooCommerce product page is mobile-friendly. A seamless mobile shopping experience can dramatically increase conversions.
Testing and Analyzing Performance
Creating an optimized WooCommerce product page isn’t a one-and-done event. It’s a continuous process of testing, analyzing, and tweaking to achieve the best performance possible.
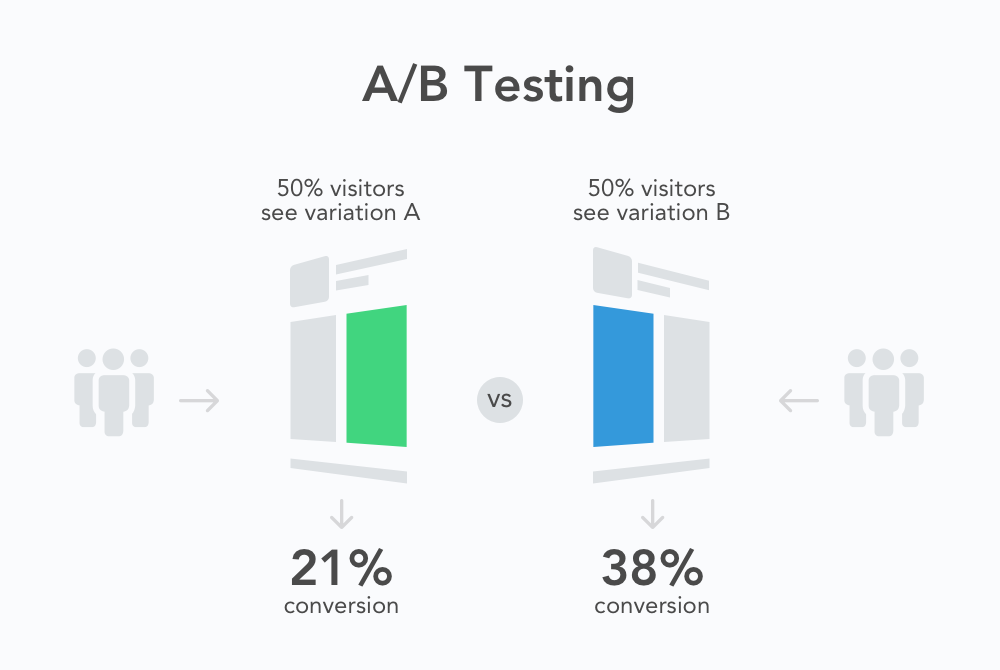
Therefore, implementing a systematic approach for testing and analyzing can significantly enhance overall optimization.
- A/B Testing: Also known as split testing, A/B testing involves creating two versions of your product page (A and B) and testing to see which performs better. This can help to understand the page elements that are working and those that need improvement.
- Multivariate Testing: Going above A/B testing, multivariate testing involves experimenting with multiple variables on a single page to see which combination leads to the highest conversions. Although it’s more complex than A/B testing, it can offer more detailed insights.
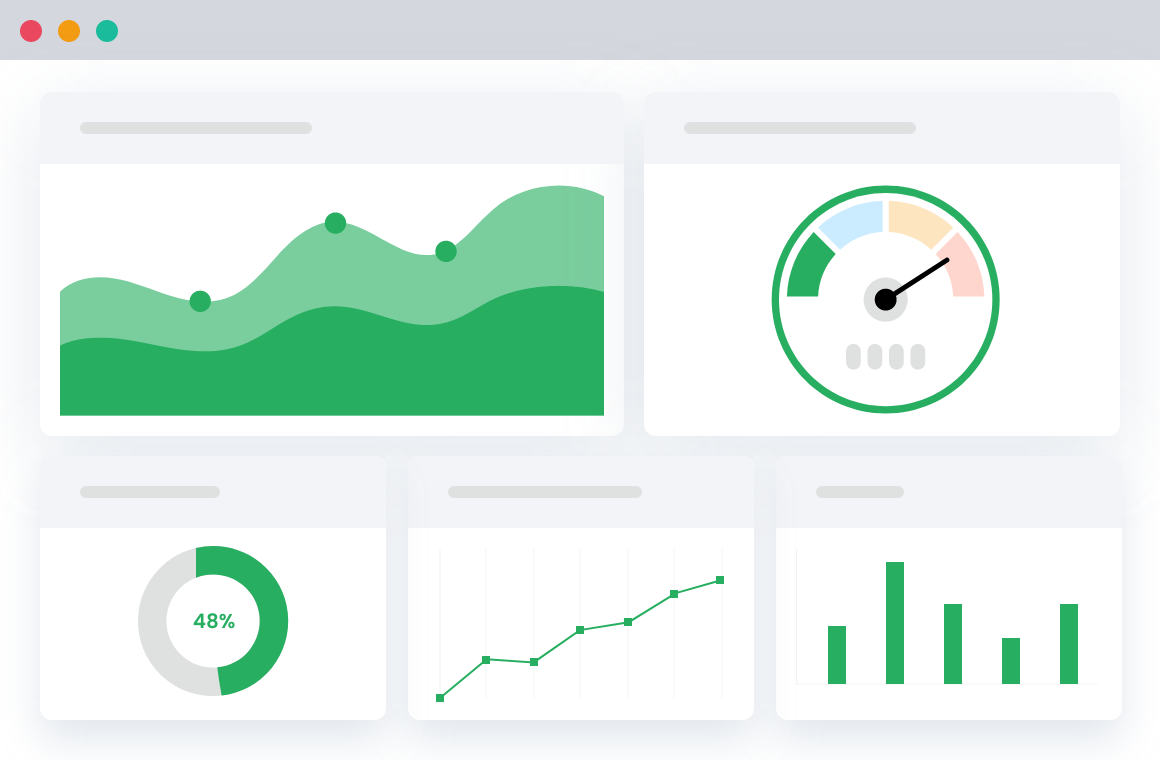
To get the most out of your testing and analysis, it’s crucial to leverage robust analytics tools. With platforms like Google Analytics, you can better understand how users interact with your product page. This allows for data-driven improvements, promoting higher engagement and conversions.
Monitor metrics such as page views, bounce rate, time spent on the page, and conversion rate to understand the performance of your WooCommerce product page.
Remember, even the smallest tweaks in optimization can have an outsized impact on your conversion rates. A commitment to continuous testing and performance analysis will ensure your WooCommerce product page stays optimized and continues to drive sales and growth.
Enhanced Ecommerce Tracking
Leverage the power of analytics to boost your store’s performance and maximize profits.
14-day, no-questions-asked money-back guarantee.
Final Words — WooCommerce Customize Product Page
An eCommerce journey is a process that starts from a product search and ends with a successful checkout. It’s a sequence that needs to be carefully crafted, and your WooCommerce product page is a central piece of that sequence, acting as the decisive element influencing your customers’ purchase decisions.
Improving and customizing this critical page is not merely an option but a necessity. By implementing the tips and techniques we’ve discussed, such as high-quality images, engaging product descriptions, standardized format, and more, you can create a more appealing and user-friendly product page that attracts visitors and successfully converts them into loyal customers.
Remember, an optimized product page creates a seamless and rewarding shopping experience for your customers, propelling your WooCommerce store toward growth and success.
Whether it’s the layout, product images, or how you present information, every detail contributes to creating that holistic customer experience that separates successful stores from the rest.
FAQs
Can I customize WooCommerce product page?
Yes, WooCommerce allows for extensive customization of your product page. You can change layouts, product images, add descriptions, and more.
How do I display WooCommerce products on custom page?
You can display WooCommerce products on a custom product page using WooCommerce shortcodes or by creating a custom query in your page template.
How do I edit the HTML of my WooCommerce product page?
You can edit the HTML of your WooCommerce product page by overriding the WooCommerce template files in your child theme.
How to customize WooCommerce single product page programmatically?
To customize a WooCommerce single product page programmatically, you can override the existing WooCommerce template files within your WordPress theme. You’ll have to copy the relevant template file into your theme’s WooCommerce folder, and then you can make changes with the custom code according to your needs.
How to customize WooCommerce product page in php?
To customize a product page in PHP, you have to copy the relevant file from the WooCommerce plugin’s templates folder to your theme’s WooCommerce folder. Then, you can customize the PHP code in the template to suit your needs. It’s recommended to do this in a child theme to avoid losing changes upon theme updates. Please note that these processes require good knowledge of PHP and WordPress theme file structure.
Enhanced Ecommerce Tracking
Leverage the power of analytics to boost your store’s performance and maximize profits.
14-day, no-questions-asked money-back guarantee.
